Sidecover and Headlight Surround Removal
Time to lose those sidecovers. If your RS is equipped with saddlebags you'll have to remove the mounts. If not, please skip ahead to the next paragraph. Remove the three screws at the back end of the luggage mount, observing that the long screw goes through the thickest section of mount, and the short screw through the thinnest. Remove the socket head allen bolt from the underside front of the mount and set the mount and screws aside in a safe place. Repeat for the other side.
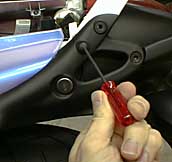
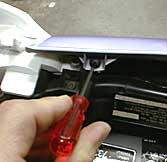
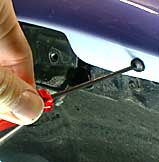
Remove the screw located on the top side of the cover near the grab rail (one each side). Remove the underside screw that's sited just forward of the upper side screw. It helps to stand on your head for this one. Repeat for other sidecover.
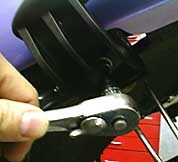
Gently spring the upper edge of the sidecover away from the bike and swing the rear end of the sidecover outward. Pull the sidecover toward the back to disengage the front edge from the grommet. Set both sidecovers aside in a safe place.
Still with me? Good! You've removed enough plastic to get to the fuel cell, valve cover, oil filter door and drain, radiator filler and drain, and air and fuel filter. With practice, you'll be able to get to this point in 20 to 30 minutes. It goes a lot faster once you know where the screws are located and get your own removal order down. But don't try to set any records, just work methodically and carefully.
You probably won't need to remove the headlight surround too often. Perhaps you need to replace a broken headlight lens, or maybe you're installing an auxillary air scoop from the Pirate's Lair. Whatever the case, there are just a few more steps to get it off.
Start with the top screw in each cover on either side of the instruments. Then move to the lower hole located beneath the turn signal pods. Remove the cover by gently working the lower tab around and away from the fuel gauge and lifting it off. Repeat for the other side.
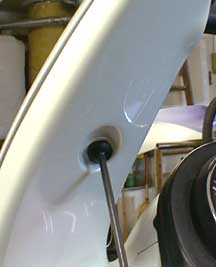
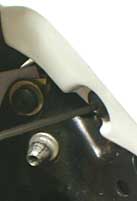
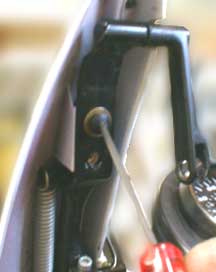
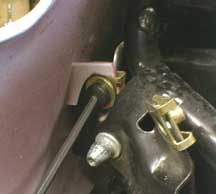
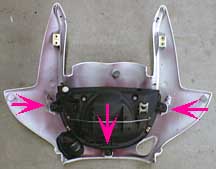
Four screws (two on each side) hold the headlight surround to the fairing bracket. The locations are shown at right. Note that the Upper screw fits in the upper hole in the fairing bracket. This will be important during re-installation. Remove the pilot light from the lower left side of the headlight. The headlight surround should lift off easily now. As it comes away from the fairing bracket, reach behind the headlight shell and disconnect the headlight wiring by pushing in on the wire bale and pulling back on the plug. The plug is located on the left back side of the headlight shell.